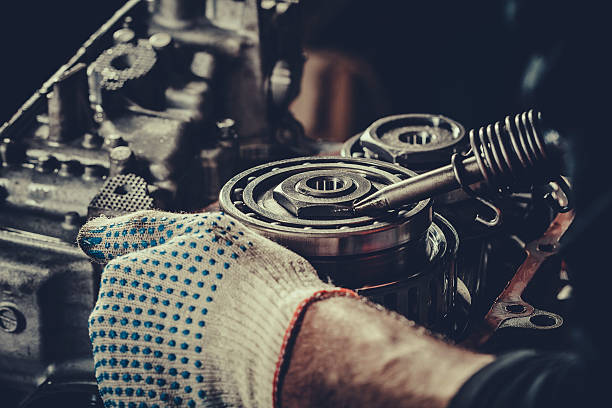
Changing the oil in an automatic transmission is an essential maintenance step that can significantly extend the lifespan of a vehicle. Whether dealing with traditional automatic gearboxes or more advanced cvt transmissions, understanding the process and undertaking it correctly can prevent costly repairs down the line. This guide will walk you through the necessary steps to perform an auto transmission oil change, ensuring your vehicle runs smoothly and efficiently.
Understanding the Importance of Automatic Transmission Oil Change
Automatic transmission fluid (ATF) is crucial for the smooth operation of the transmission system. It serves several functions, including:
- Lubricating the moving parts within the transmission.
- Acting as a coolant to prevent overheating.
- Providing hydraulic pressure necessary for the transmission components to function.
- Ensuring smooth gear shifts and enhancing driving comfort.
Over time, transmission fluid can degrade and become contaminated with particles, reducing its effectiveness. Regular automatic fluid change can help maintain optimal performance and extend the life of the transmission.
Tools and Materials Required
Gathering the Necessary Equipment
Before beginning the transmission fluid change, ensure you have the following tools and materials:
- New automatic transmission fluid compatible with your vehicle’s specifications.
- A catch pan for old fluid.
- Socket set or wrench for removing the drain plug.
- A funnel to pour new fluid.
- Clean rags or towels for spills.
- Safety gloves and goggles.
Step-by-Step Guide to Automatic Transmission Oil Change
1. Preparatory Steps
Begin by parking the vehicle on a level surface and engaging the parking brake. This ensures stability during the automatic transmission oil change. It’s advisable to warm up the engine for a few minutes to ensure the fluid drains efficiently, but do not overheat it to avoid burns.
2. Draining the Old Fluid
Position the catch pan under the transmission pan. Use the socket set to remove the drain plug carefully, allowing the old fluid to drain completely. This process might take several minutes. Once drained, replace and tighten the drain plug securely.
3. Replacing the Transmission Filter
In some vehicles, especially those with cvt gearboxes, it is necessary to replace the transmission filter. Consult the vehicle’s manual for specific instructions on accessing and replacing the filter.
4. Refilling with New Fluid
Using a funnel, slowly pour the new transmission fluid into the fill port. Be sure to pour the correct amount specified in the vehicle’s manual. It may be necessary to periodically check the fluid level with the dipstick to avoid overfilling.
5. Checking and Testing
After refilling, start the engine and let it idle. Shift through all the gears to allow the new fluid to circulate throughout the transmission system. Recheck the fluid level and add more if necessary. Ensure there are no leaks and that the system operates smoothly.
Conclusion
Regular maintenance, including an automatic transmission oil change, is paramount for the longevity and performance of any vehicle. While the process may seem daunting, following this guide can make it manageable and efficient. For those unfamiliar with vehicle maintenance or dealing with complex systems like cvt transmissions, consulting a professional mechanic is recommended. Proper maintenance not only prolongs the vehicle’s life but also ensures safety and reliability on the road.